Figma to Framer: A Seamless Workflow with Temlis Templates
Want to turn Figma designs into live websites effortlessly? Temlis templates make it easy to go from Figma’s design tools to Framer’s live website builder. Here’s how this workflow solves common challenges and speeds up your process:
- Simplified Design Transfer: Temlis templates come with matching Figma and Framer files, ensuring smooth imports without rebuilding layouts or animations.
- Responsive and Ready: Pre-built Auto Layouts and components in Figma translate seamlessly into Framer, saving time on manual adjustments.
- Affordable Options: Templates range from $49 to $129, with free options available, catering to various industries like SaaS, e-commerce, and portfolios.
- Customizable and Flexible: Easily update colors, fonts, layouts, and content to match your brand in Framer’s drag-and-drop editor.
- Faster Collaboration: Real-time updates in Framer let teams work simultaneously across time zones, reducing delays.
Why use this workflow? It eliminates coding for most tasks, speeds up timelines, and ensures a consistent design-to-development process - perfect for freelancers, agencies, and product teams.
Ready to streamline your workflow? Start with Temlis templates and launch professional websites faster.
Master Figma To Framer In 10 Minutes

Preparing Figma Designs for Framer Import
Setting up your Figma file correctly is key to ensuring a smooth transition into Framer. Think of your Figma file as the blueprint for a live website, not just a visual mockup. Following these steps will help you create a seamless workflow from Figma to Framer.
Organizing and Cleaning Your Figma File
Start by renaming layers with clear, descriptive names. For example, use "Hero Button" instead of a generic "Rectangle 47." When your design is imported into Framer, having identifiable layer names will make navigating and editing much easier.
Next, group related elements like navigation bars or footers, and convert these groups into frames. Organize these sections based on their function rather than their visual layout. This logical grouping will maintain structure and make it easier to work on specific areas once in Framer.
It's also important to convert all groups to frames. Frames provide better layout control and define boundaries more clearly, helping Framer handle responsive designs more effectively.
Make use of Auto Layout wherever you can. Framer's stacking system works seamlessly with Auto Layout, making your designs naturally responsive. For instance, apply Auto Layout to navigation bars, buttons, and card layouts to ensure they adjust well to different screen sizes.
Lastly, remove hidden or unused layers. Extra layers can complicate the import process and might cause unexpected issues in Framer. Clear out old iterations, unused components, and anything else that won't be part of your final design.
Converting Repeating Elements into Components
Once your file is tidy, standardize recurring elements by turning them into components. Convert all repeating elements, such as buttons, cards, and navigation items, into components before importing to Framer. This ensures consistency across your design and makes global updates easier.
Consistency is crucial, so maintain uniform fonts, colors, and styles across all components. Framer imports these style definitions, and any inconsistencies in Figma could lead to conflicts in the final website. Use Figma's text and color style tools to keep everything aligned.
Keep your components simple during the initial import. While Figma allows for complex variants and interactive features, these won't transfer directly to Framer. Focus on creating clean, basic components that capture your design's essentials - you can always add interactivity later in Framer.
Also, convert text within components to editable fields. This makes it easier to update content in Framer without disrupting the design. Remove placeholder text or anything purely decorative that won't appear in the final website.
A well-organized and componentized Figma file helps reduce errors and speeds up the import process into Framer.
Optimizing Images and Assets
Optimizing your images and assets is another critical step. Compress images and size them appropriately for their intended display context. Large, uncompressed images can slow down the import process and hurt performance.
For icons and simple graphics, use SVGs. They stay sharp at any size and typically have smaller file sizes than raster images. Place your SVGs inside a frame in Figma rather than directly on the canvas for better organization.
Label all assets clearly and group them logically. For example, group images into categories like hero images, thumbnails, or icons, and use descriptive names that indicate their purpose. This makes asset management in Framer much easier.
Choose the right image formats for your content. Use WebP or AVIF for photographs and complex images, as they offer better compression than JPEGs or PNGs. While Framer automatically optimizes images during import, starting with the right format gives you more control over quality.
Framer resizes imported images to multiple dimensions (512, 1,024, 2,048, and 4,096 pixels) and converts them to AVIF with 80% quality settings. By starting with properly optimized assets, you can ensure the best results from this automated process.
Importing Figma Designs into Framer
Once your Figma file is well-organized and optimized, you’re ready to bring your designs into Framer. The process is straightforward, but following the correct steps ensures your designs remain intact and responsive during the transition.
Using the Figma to Framer Plugin
The "Figma to HTML with Framer" plugin is a handy tool to turn static Figma designs into interactive Framer websites. You can install this free plugin directly from Figma’s plugin library, making it easy to integrate with both platforms.
Here’s how it works: select key sections of your Figma file, like the header, hero, or footer, and run the plugin to generate responsive code structures. This code can then be pasted directly into Framer. The plugin reads your design’s layout, including Auto Layout settings, constraints, and component relationships, and creates a Framer-ready structure.
Once you paste the layers into Framer, they’re automatically converted into responsive elements. Figma’s Auto Layout settings are interpreted as flexible components, making the transition smoother if your designs are well-structured.
For quicker imports, use ⌥⌘P to rerun the plugin when handling multiple sections. This shortcut saves time and keeps your workflow consistent.
After importing, take a moment to review your designs and follow these tips to ensure everything looks as it should.
Best Practices for Importing
Work section by section. Importing designs one section at a time improves accuracy and makes it easier to fix any issues. Start with critical areas, like the header or hero section, and then move down the page.
In April 2025, CodeWP emphasized the importance of Figma's Auto Layout for responsive design when transitioning to Framer. They noted that Auto Layout translates effectively into Framer's Flexbox-style system, reducing manual resizing and maintaining consistent spacing. They also recommended consistent use of padding, spacing, and alignment within Auto Layout, as well as nesting layouts for more complex designs, which can save considerable time during the transition.
Match Figma frame sizes to standard breakpoints before importing. Use dimensions like 375px for mobile, 768px for tablets, and 1024px for desktops. This ensures your designs align with Framer’s responsive system from the start.
If you encounter font mismatches, use Google Fonts or upload custom fonts to maintain visual consistency.
Focus on essential components. Avoid importing experimental elements, unused variations, or placeholder content that won’t be part of the final website. Keeping your project clean makes customization easier.
Test across devices immediately in Framer. Real-time previews help you catch layout issues early, ensuring your design works seamlessly on mobile, tablet, and desktop.
By following these steps, you’ll set up a smooth transition, making it easier to refine your designs and prepare them for final adjustments.
How Temlis Templates Simplify the Process
Temlis templates make the import process even easier by providing pre-optimized Figma files that are tailored for Framer’s responsive features. These templates minimize the need for post-import tweaks, saving you time and effort.
Each template includes a Figma file with consistent naming conventions and well-structured components, which translate effortlessly into Framer. This reduces the hassle of reorganizing imported elements and lets you focus on customization and content updates.
Because Temlis templates are built with responsive design principles, their Auto Layout settings, constraints, and flexible sizing carry over seamlessly into Framer. This means less manual adjustment and more time spent on refining your project.
The templates also include optimized assets and components. Images are pre-compressed and properly sized, icons are provided as scalable SVGs, and text styles are uniform throughout. This preparation cuts down on post-import cleanup.
For teams working with multiple collaborators or clients, having both the Figma file and the Framer implementation ensures everyone stays on the same page. Clients can review designs in Figma while developers work in Framer, keeping the workflow efficient and aligned.
If you need customizations beyond the standard templates, Temlis offers a service to modify both the Figma file and the Framer template to match your exact needs. This ensures your design vision is perfectly implemented, from concept to launch, without disrupting the seamless workflow.
sbb-itb-fdf3c56
Customizing and Launching Websites with Temlis Templates
With your Figma designs already integrated into Framer, Temlis templates offer a solid foundation for launching a professional website. These templates not only streamline the setup process but also provide extensive customization options to align with your brand’s unique identity.
Customizing Temlis Templates for Framer
Temlis templates allow you to transform standard layouts into tailored, branded experiences. They integrate seamlessly with Framer’s editing tools, giving you complete control over colors, typography, layouts, and UI elements - all while ensuring responsive design.
- Colors and Fonts: Update your template's colors and fonts to reflect your brand. For example, adjusting the primary color will automatically update all related site-wide elements. Similarly, apply your custom fonts using Framer’s text tools to maintain consistent typography and spacing throughout.
- Layouts: Use Framer’s intuitive drag-and-drop editor and grid tools to tweak layouts and ensure balanced spacing. This makes it easy to adapt the design to your content.
- Content Updates: Replace placeholder text and images with your own. Temlis templates include pre-built blocks for key sections like hero banners, features, testimonials, and pricing tables. You can delete unused sections to streamline your site’s flow.
- Call-to-Action Buttons: Ensure your CTAs stand out with clear, action-driven phrases like “Book a Call,” “Try for Free,” or “Subscribe Now.” Breaking up long paragraphs with bullet points or shorter sections also improves readability.
Templates for Different Industries
Temlis templates are designed with various industries in mind, ensuring you can find one that suits your business needs:
- SaaS and Technology: Miros ($129), Darken ($79), Clikup ($79), Dataluz ($79) – clean, conversion-focused interfaces.
- Financial Services: Advisora ($129), Moneta ($79), Payable ($79), Nicepay ($79), Rampay ($79) – professional designs emphasizing trust and reliability.
- Real Estate: Elevates ($79) – perfect for showcasing properties and architectural projects.
- Health and Wellness: Vetic ($129), Calmy ($79), Harmoni ($79), Serenium ($79) – designs that convey a sense of cleanliness and care.
- Professional Services: Legally ($79), Spotless ($79), Handyhub ($79) – templates for law firms, cleaning services, and maintenance providers.
- Creative Professionals: Rosalia ($129), AnderDark ($79), Imagen Pro ($49) – ideal for portfolios of UI/UX designers, product designers, and photographers.
Using Temlis’s Customization Service
For businesses that need more than basic template adjustments, Temlis offers a customization service designed to deliver a tailored website experience.
- Pro Customization: Starting at $1,990, this service includes a free template and ensures your website aligns perfectly with your brand. It’s a great option for businesses looking for a polished, professional site without the need for a fully custom build.
- Custom Website Development: For unique requirements that go beyond template modifications - like custom integrations or advanced functionalities - this service starts at $10,000. It’s ideal for businesses with specific needs that demand a completely bespoke solution.
Both services maintain the efficient workflow established by the templates. The process covers the Figma design file and its implementation in Framer, ensuring consistency from start to finish. Your design team works with a customized Figma file, while developers handle the Framer version, creating a smooth transition from design to launch.
Temlis, a productized service by Produlis, follows a structured approach to ensure quality and timely delivery. This makes it particularly useful for agencies juggling multiple projects or businesses working on tight schedules. Additionally, the customization service includes ongoing support for updates and modifications, allowing your website to grow and adapt as your business evolves - all without starting from scratch.
Benefits of the Figma to Framer Workflow with Temlis Templates
Combining Figma, Framer, and Temlis templates simplifies website development, making it more efficient and collaborative. For teams in the U.S., this workflow enhances productivity and delivers better project outcomes. Below, we’ll dive into how this approach saves time, reduces costs, and improves teamwork.
Key Benefits for Designers and Developers
The Figma-to-Framer workflow, powered by Temlis templates, addresses common challenges in transitioning designs to development. By using Figma as the central source of truth, design consistency is maintained throughout the process.
The reduced need for coding makes this workflow especially appealing to teams with limited development resources. Framer’s no-code platform, combined with Temlis’ pre-built templates, allows teams to create interactive websites with minimal coding effort. This seamless integration cuts down on handoff delays and minimizes rework.
Figma’s real-time feedback capabilities, paired with Framer’s sharing tools, also foster better collaboration across teams.
"Figma really brings together different parts of the team - designers, project managers, product managers, engineers, and others. The amount and quality of feedback is 10X better than before." - Shawn Lan, Head of Design at Zoom
The streamlined handoff process enables faster launches. Teams can directly import Figma designs into Framer and use Temlis templates as a strong starting point, eliminating the need to rebuild designs from scratch.
Cost and Time Savings
This workflow offers a more efficient and cost-effective alternative to traditional custom coding. By leveraging pre-built, responsive templates, teams can focus on refining the user experience rather than spending excessive time on development. This not only accelerates project timelines but also allows agencies to handle multiple projects simultaneously, capturing opportunities more quickly.
Temlis templates are priced affordably, providing a budget-friendly solution that seamlessly integrates design and development phases without sacrificing quality.
Team Collaboration Benefits
Beyond faster launches and reduced coding, this workflow enhances collaboration across teams. Freelance designers can deliver fully functional websites instead of static mockups, adding more value to their services and improving client satisfaction.
Agency teams also see better coordination. Design work in Figma can occur simultaneously with Framer implementations using Temlis templates, reducing delays and eliminating the traditional waiting period between design and development.
"Since Framer is based in code, I have found it to be the most expressive way to prototype. It is entirely open-ended. Framer especially excels at complex, single-page interactions. Figma has been instrumental for our team in designing and iterating on UI quickly. Framer is the best way to prototype. An integration allows us to get our UI ideas into code quickly, test them, and ship faster and better." - Jonathan Simcoe, Circle designer
Rapid prototyping also shortens feedback cycles. Interactive prototypes allow clients to experience the user flow firsthand, enabling them to provide meaningful input before development begins.
Version control in both Figma and Framer ensures that everyone on the team is working with the latest design updates, reducing confusion and rework. Additionally, standardized templates help translate design ideas into fully functional websites, ensuring consistent and high-quality results every time.
Conclusion: Converting Ideas into Websites
The Figma to Framer workflow, powered by Temlis templates, offers a game-changing approach to website creation. By organizing your Figma files, importing them effortlessly into Framer, and utilizing professional-grade templates, you can quickly turn ideas into fully functional websites. This process creates a seamless connection between design and development, allowing for smoother transitions and quicker project readiness.
One of the standout features of this workflow is its ability to maintain the integrity of your designs during the import process. Once in Framer, you can continue editing without compromising the original design quality. Even teams with limited coding knowledge can take advantage of this system, as Framer manages the conversion process automatically. The result? Consistent designs across projects and improved collaboration, thanks to the inclusion of Figma files.
What makes this workflow so effective? It saves time with pre-built, responsive layouts and eliminates the usual back-and-forth between designers and developers. Agencies and freelancers can juggle multiple projects without sacrificing quality, all while meeting tight deadlines.
Framer also takes care of layout adjustments and asset optimization behind the scenes. This means you can concentrate on customizing your site and refining your content, rather than worrying about technical performance tweaks.
Whether you’re building a SaaS website, a portfolio, or an e-commerce platform, these templates cater to a variety of industries and project goals. Plus, the added customization service ensures your website reflects your unique branding needs.
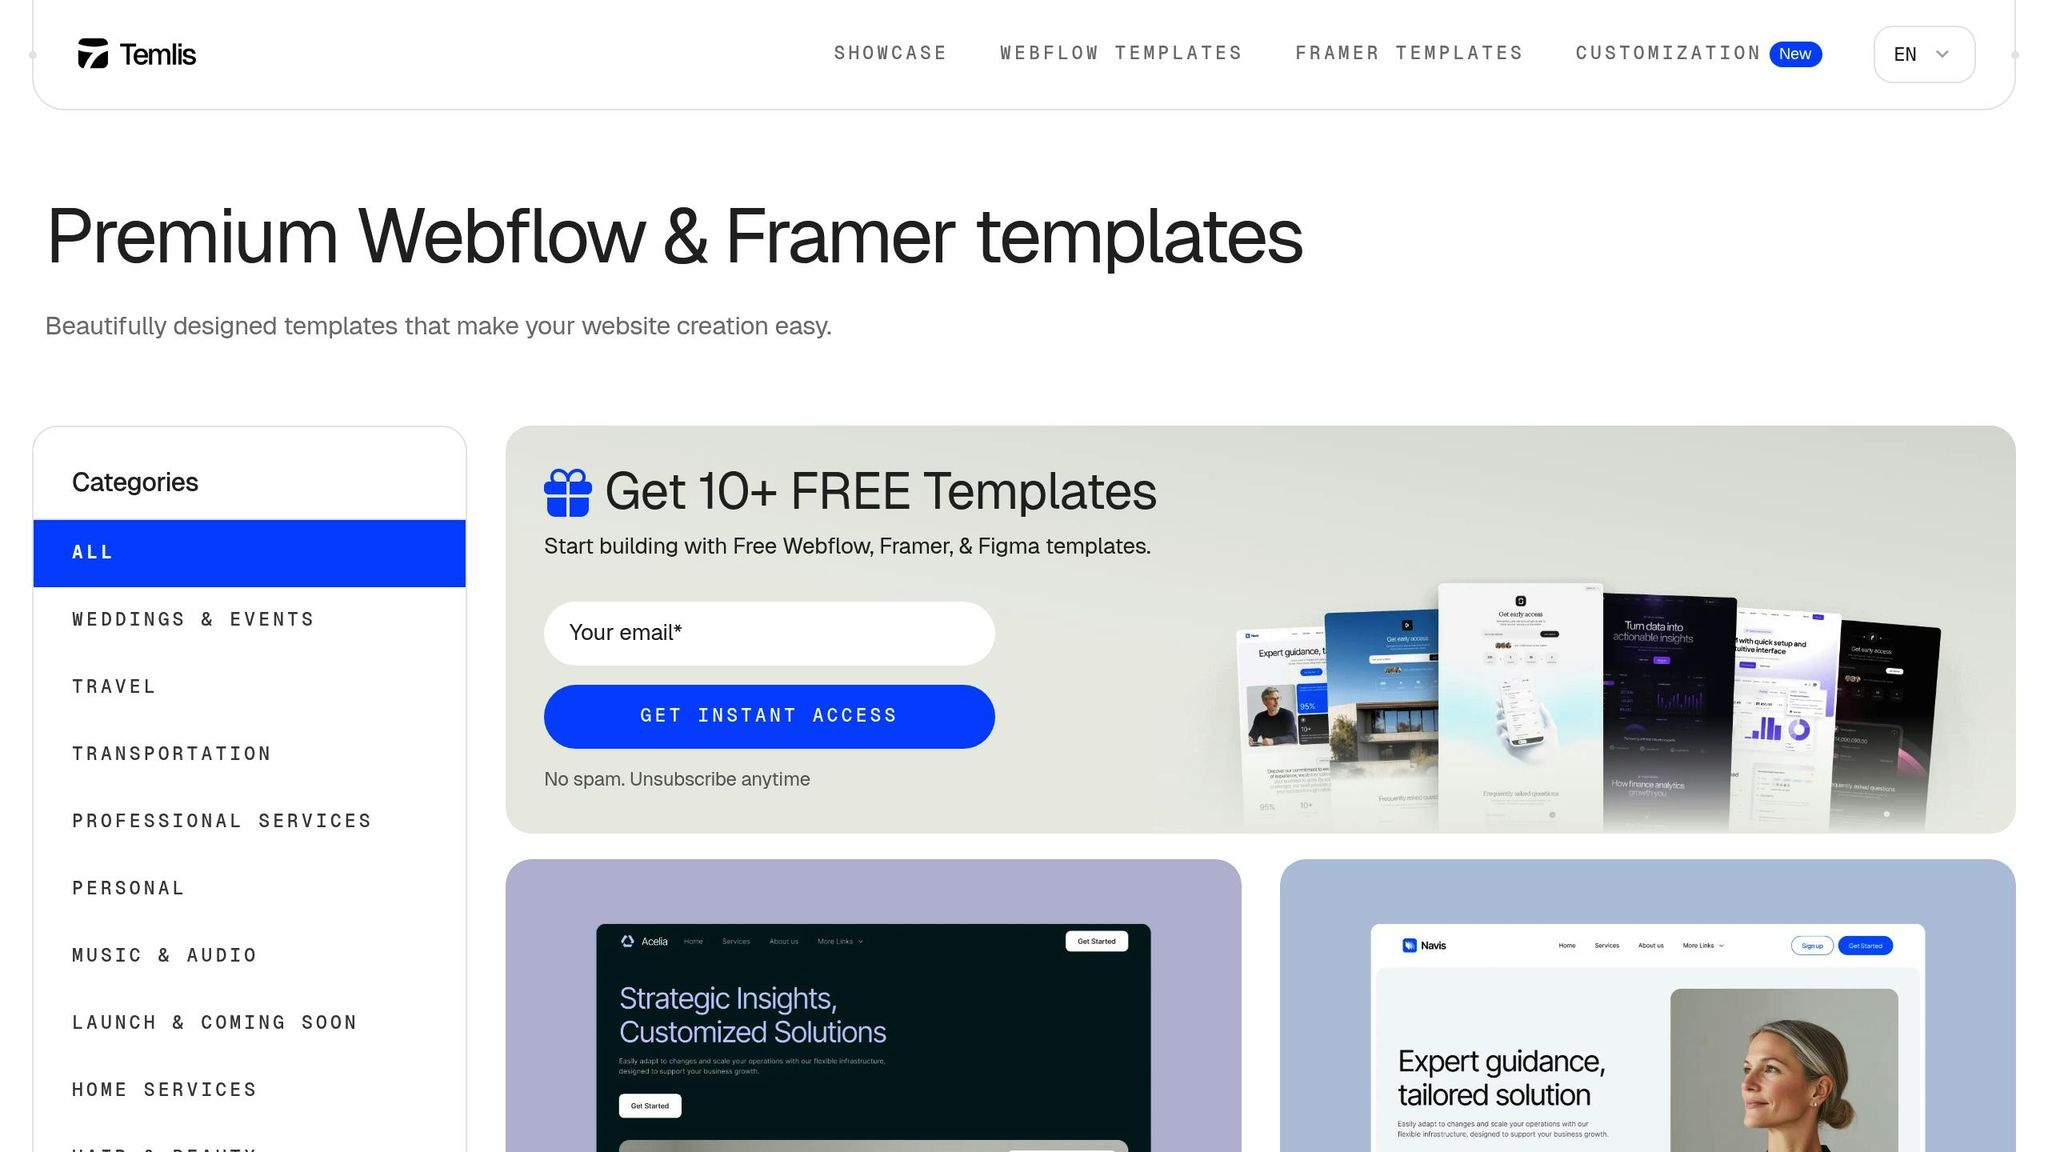
With this streamlined process and technical simplicity, you’re set to take your project from design all the way to launch. Ready to simplify your workflow and bring your vision to life? Check out Temlis's premium templates and see how the right tools can make all the difference.
FAQs
How do Temlis templates make it easy to move designs from Figma to Framer without needing advanced coding skills?
Temlis templates make moving your designs from Figma to Framer a breeze. Built to align perfectly with Framer’s structure and responsive features, these templates ensure your designs import smoothly and adjust naturally to the platform. Say goodbye to time-consuming manual tweaks.
Packed with pre-built, customizable components, Temlis templates let you transform detailed Figma designs into fully functional websites with ease. Even if coding isn’t your team’s strong suit, these templates help you maintain a cohesive design while cutting down development time. The result? Polished websites ready to launch in no time.
How can I organize my Figma files for a smooth transition to Framer?
To make the transition from Figma to Framer as seamless as possible, start by organizing and naming your layers clearly. Group related layers together and use descriptive names - this will make it much easier to locate and manage elements when you import them into Framer. A clean file structure with a logical hierarchy for frames and components will not only preserve your design’s intent but also make tweaks in Framer much simpler.
Steer clear of overly complicated nested groups, as they can create unnecessary headaches during the import process. Instead, aim for a simple and straightforward structure that works well with Framer’s responsive design tools. By keeping these tips in mind, you can efficiently turn your detailed designs into fully functional websites.
Can I customize Temlis templates to match my brand, and are there options for more personalized solutions?
Yes, Temlis templates can be completely adjusted to match your brand's style and vision. You have the flexibility to tweak designs in Figma before exporting them, ensuring they meet your exact requirements. For businesses seeking a more personalized touch, Temlis also provides professional customization services to fine-tune templates according to your branding or project needs.
With an extensive collection of responsive templates tailored for Webflow and Framer, Temlis makes building sleek, professional websites effortless and effective.
Related posts
Recommended posts